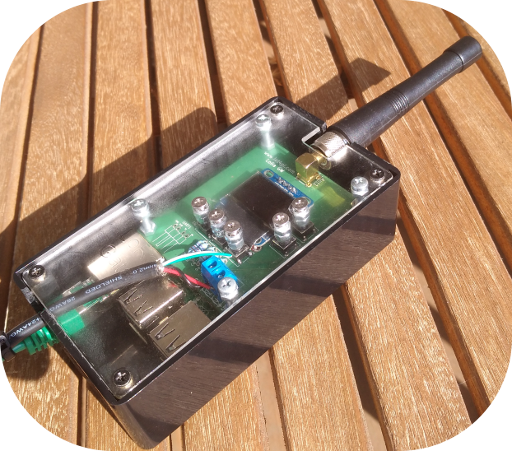
LoRa-APRS-iGate
The LoRa-APRS-iGate was developed in cooperation with the Austrian HAM Radio Association (Österreichischen Versuchssenderverband http://www.oevsv.at/home/). With this software and the LoRa GW Shield, devices transmitting on LoRa, frequency 433 MHz can be integrated into the APRS network.
The transmitter can then be displayed on the website https://aprs.fi.
The gateway software is installed on Raspberry with a Rasbian operating system.
The Raspberry must be extended with the LoRa Gateway Shield.
The first and easiest method is to download the complete SD card image. With this method, the image has be tranferred onto an SD card (using an image program such as Win32DiskImager). The image is available here.
The Software was tested for the Raspberry pi 2 & 3.
The Software uses the Rapbian OS version Jessie.
Use
User : pi
Password: LoRaAPRS
to log in.
The software LoRa-APRS Gateway was tested on a Raspberry pi 2.
Warning:
Due to the fact the image is greater than 250 MB, it can not be verified by Google Drive. This results in error messages when the download is started.
After image has been installed onto the SD card, the software can be configured using the file APRS.conf.
To edit the file you have to connect to the Raspberry using ssh (ssh can be run under Windows using the program PuTTY).
If you do not know the IP address of your Raspberry pi, you can display it on the display.
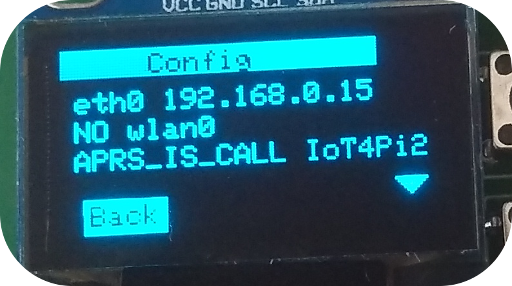
In the "Conf" menu, the IP addresses recognized by the Raspberry are displayed for Ethernet and WLAN. If, however, an ERROR is displayed in the display, press "Resume", so that the main menu is again visible. Then you can access the menu item "Conf" (for configuration).
Change to the directory „/home/pi/ iot4pi/“ with the command
cd /home/pi/ iot4pi/
With the command
nano APRS.conf
you can edit the Config file.
The following parameters can be changed / set in this file:
-) Call Sign des Gateways, Passcode needed by the APRS Servers,
-) the IP address or URL of the APRS Server and the Port,
-) position data of your Gateway,
-) the time the gateway should re-register with the APRS Server since the gateway did not receive a message from the APRS server,
-) Frequency, Spreading Factor, Bandwidth and Coding Rate of the Gateway.
The APRS.conf file is read by the system when the Raspberry is started. Thus, to make the changes effective, a reboot is necessary.
Display & operation on the gateway
The gateway checks various parameters at startup.
If one of the tests does not have the desired result, an ERROR message will appear on the display. You can decide whether you want to terminate the gateway application or still want to go on.
The following errors can be displayed:
Error Reading Conf File! = Failed to open APRS.conf file
HopeRf could not read Parameter = The parameters frequency, spreading factor, bandwidth or coding factor in the file APRS.conf could not be read.
Error Reading HopeRF Values = The parameters frequency, spreading factor, bandwidth or coding factor in the file APRS.conf could not be read.
Error setting up HopeRF = The LoRA module HopeRF was not recognized and could not be initialized.
APPRS could not be pinged = The specified APRS server could not be reached by ping.
Error could not start APRS Connector =The internal service of the APRS Connector could not be started.
APRS Connector not running = Internal service APRS Connector was started but the process could not be found in the process list ("ps aux").
Couldn't send to APRS Connector = Test transmission to internal service APRS Connector failed.
Couldn't receive from APRS Connector = Test transmission to internal service APRS Connector was successful, but the expected response was not received.
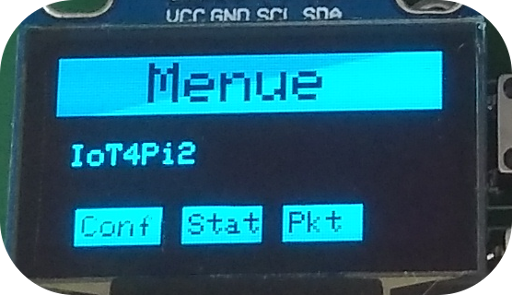
The configured APRS CallSign is displayed in the main menu.
In the menu item "Conf", the configuration parameters of the gateway are displayed.
The current statistics of the received and transmitted packets are displayed in the menu item "Stat".
The currently received data packet is displayed in the "Pkt" menu item.
If more than one information is available in a menu, you can use the up and down buttons to "scroll" between pages.
Under menu item "Conf", the assigned IP address of the Ethernet and, if available, the WLAN interface are displayed.
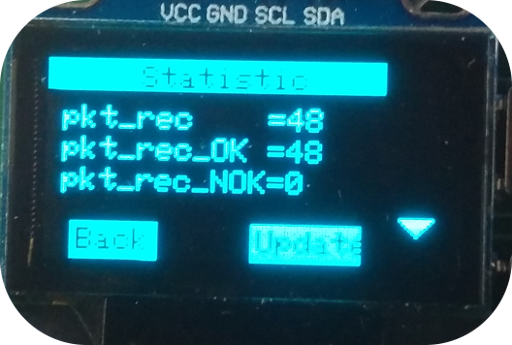
The various statistics of the gateway can be displayed under "Stat".
The following data are listed on the first page:
pkt_rec = x Number of LoRa packets received by the gateway
pkt_rec_OK =x How much of the received packages are OK
pkt_rec_NOK=x How much of the received packets are NOT OK .
The sum of OK and NOK packets should be pkt_rec.
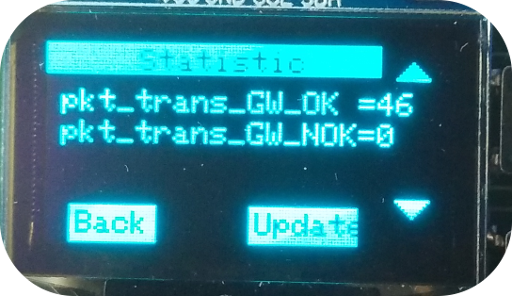
On page two, those packages are displayed which have been sent to the internal service of the APRS Connector:
pkt_trans_GW_OK =x Number of packages successfully sent.
pkt_trans_GW_NOK=x Number of packages not successfully sent.
On page three, the internal feedback messages of APRS Connector Service are listed:
pkt_rec_GW_OK =x Number of successful feedbacks.
pkt_rec_GW_NOK =x Number of feedback not successful.
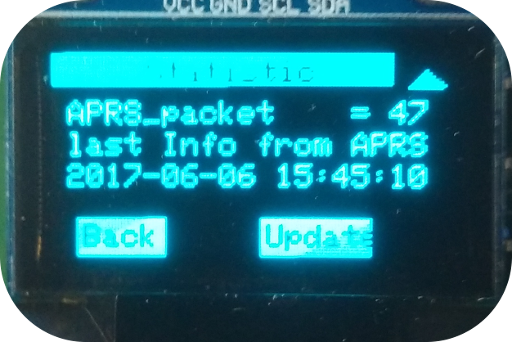
The last page shows the feedback of the configured APRS server:
APRS_packet =x Number of packets sent to the APRS server.
Last Info from APRS = Date and time of the last confirmation from the APRS server.

The currently received data packet is displayed in the "Pkt" menu item.